Formations
Football formations, explained.
A formation is where the eleven start, not how they play. Each page below plays the shape on a real board, phase by phase: with the ball, without it, where it is weak and the fix. Every distance on them is measured on a 105 x 68 m pitch.
- Shapes
- 4
- Phases
- 18
- Pitch
- 105x68
The shapes
-
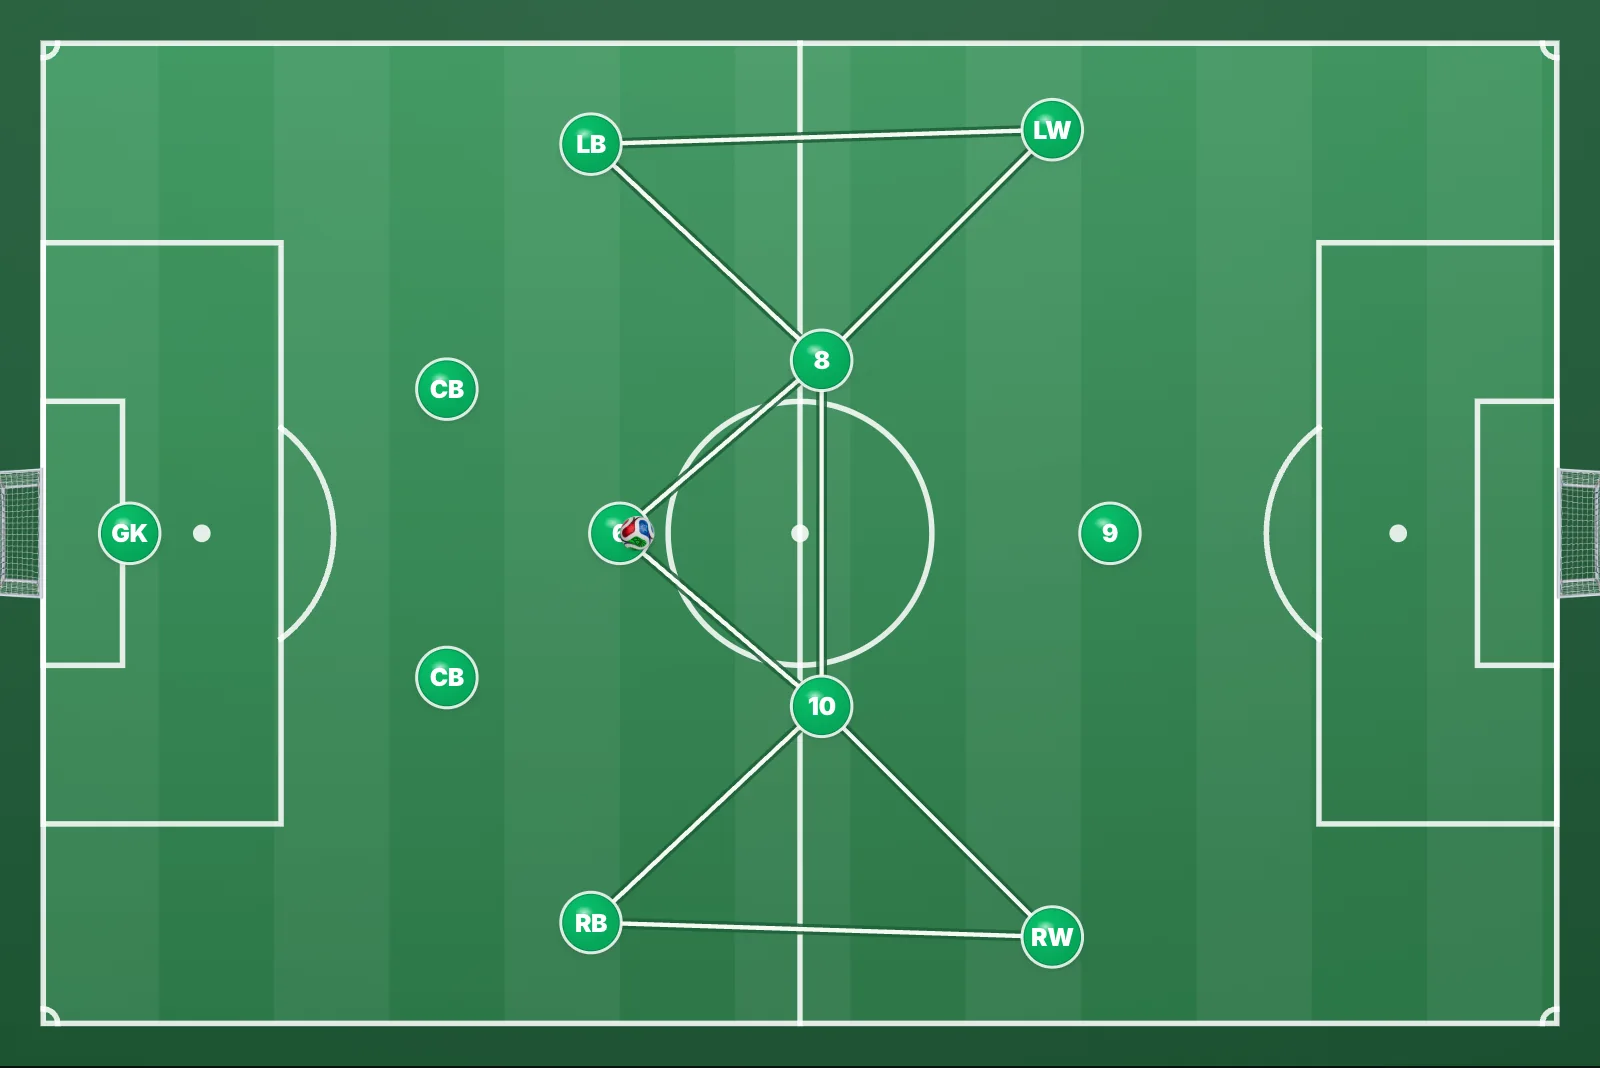
Back four · midfield three · front three
The 4-3-3 formation, explained
The 4-3-3 on a moving board: the triangles, the 3+2 behind the attack, the 4-1-4-1 block, the space beside the 6 and the fix. Every role explained.
34 m
Back line to the 9, without the ball
Weak spot
Space beside the 6
- 01Three triangles
- 02Five up, 3+2 behind
- 03Without the ball: 4-1-4-1
- 04The weak spot: beside the 6
- 05The fix: an 8 drops in turn
-
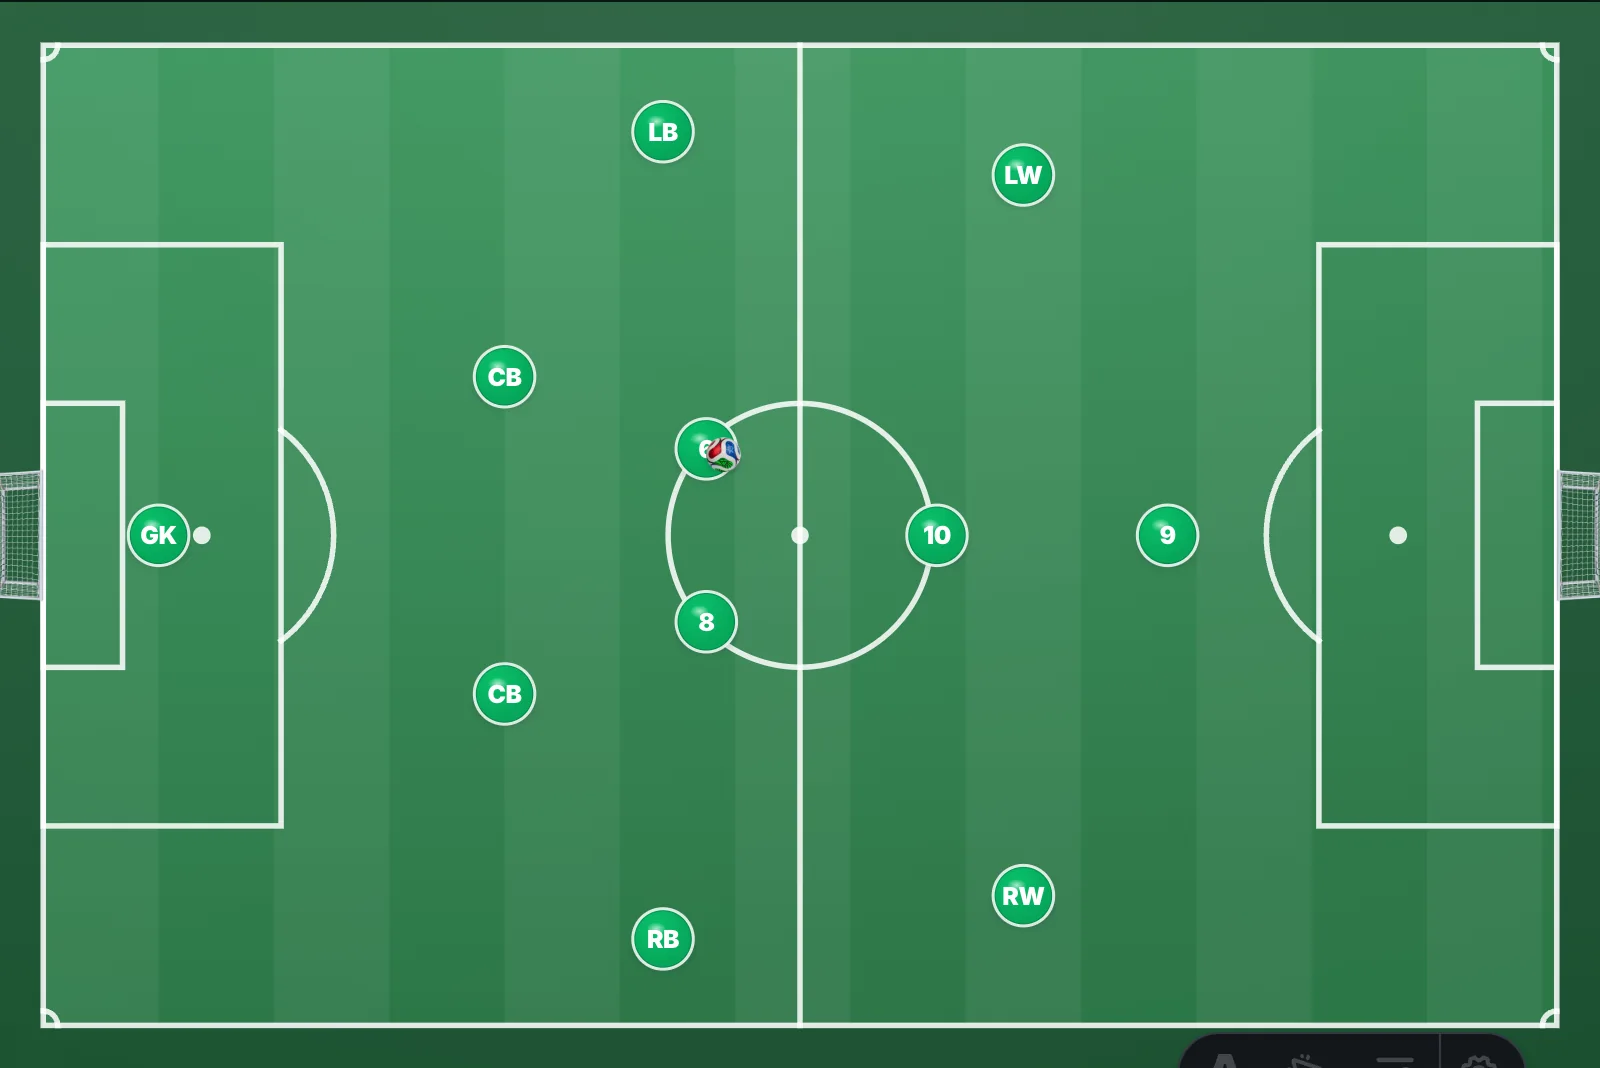
Four lines · two holders · one 10
The 4-2-3-1 formation, explained
The 4-2-3-1 on a moving board: the resting shape, four against three in the build-up, the 4-4-1-1 block and the duel that decides it. Every role explained.
22 m
Between the centre-backs
Weak spot
Their 6 against our 10
- 01The resting shape
- 02Four against three
- 03Without the ball: 4-4-1-1
- 04The duel that decides it
- 05The fix: the 10 stays on him
-
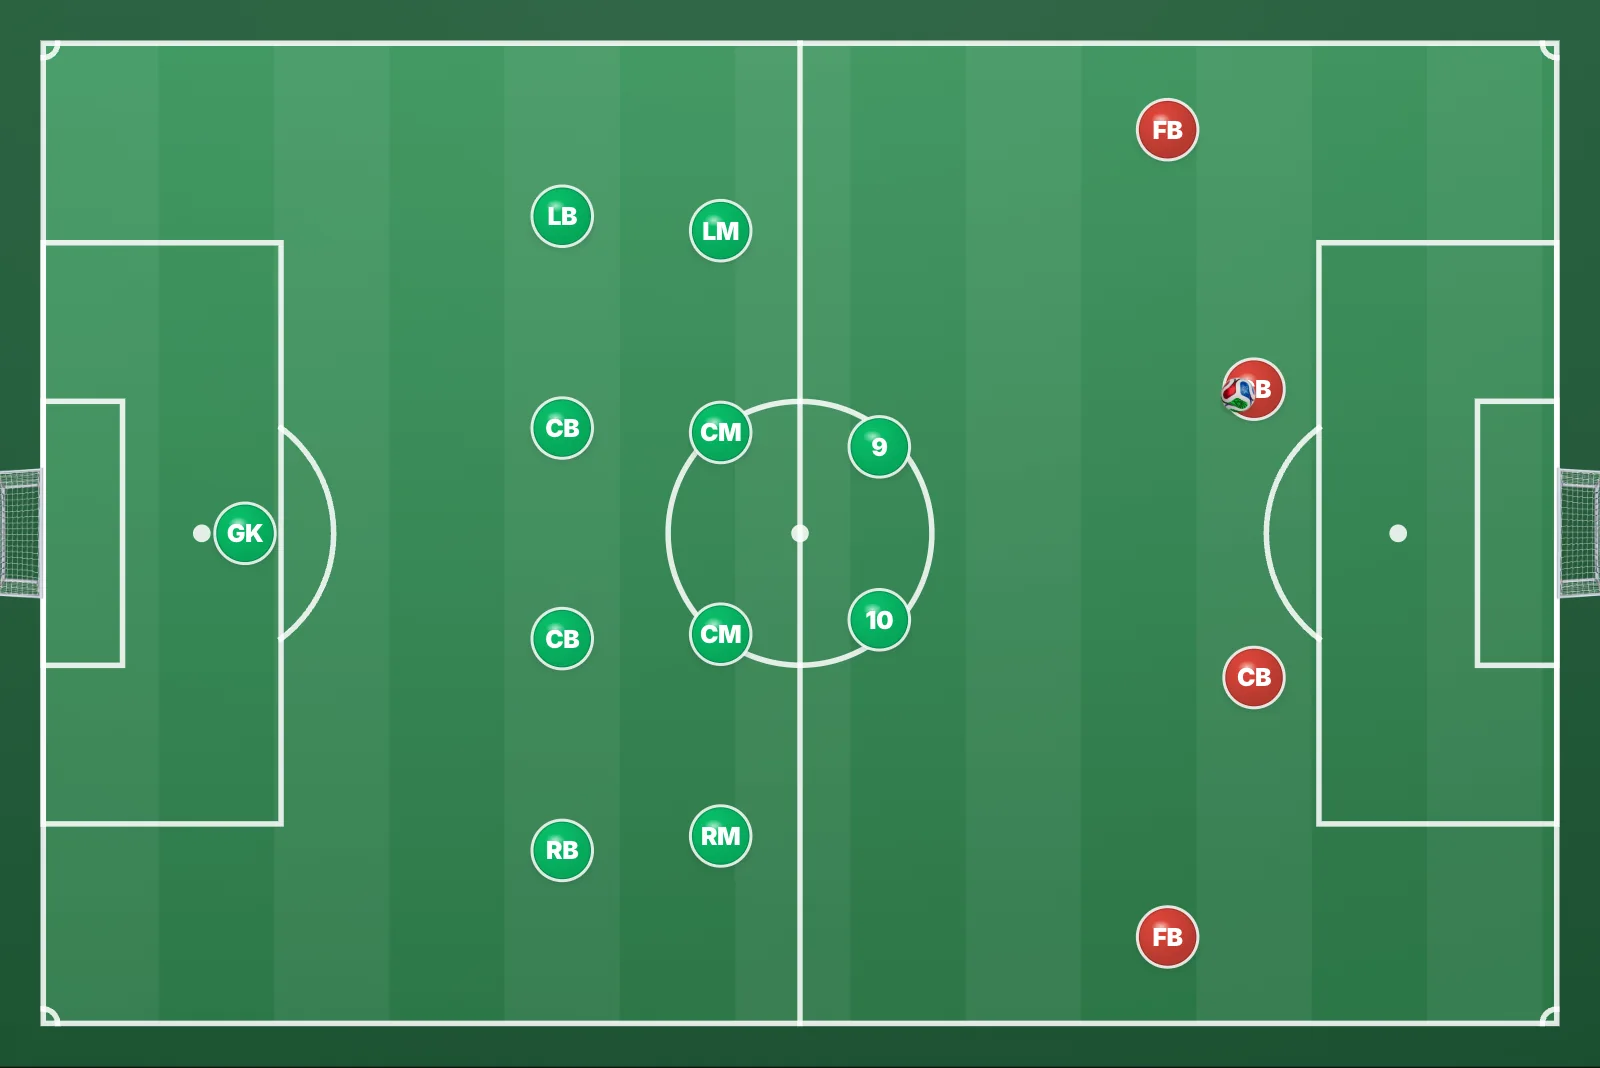
Two banks of four · two up front
The 4-4-2 formation, explained
The 4-4-2 on a moving board: two banks of four, the distances, sliding to the ball, two against three in midfield and the fix. Every role explained.
11 m
Between the lines
Weak spot
Two against three in midfield
- 01Two banks of four
- 02Slide together
- 03Two against three
- 04The fix: the 10 drops onto him
-
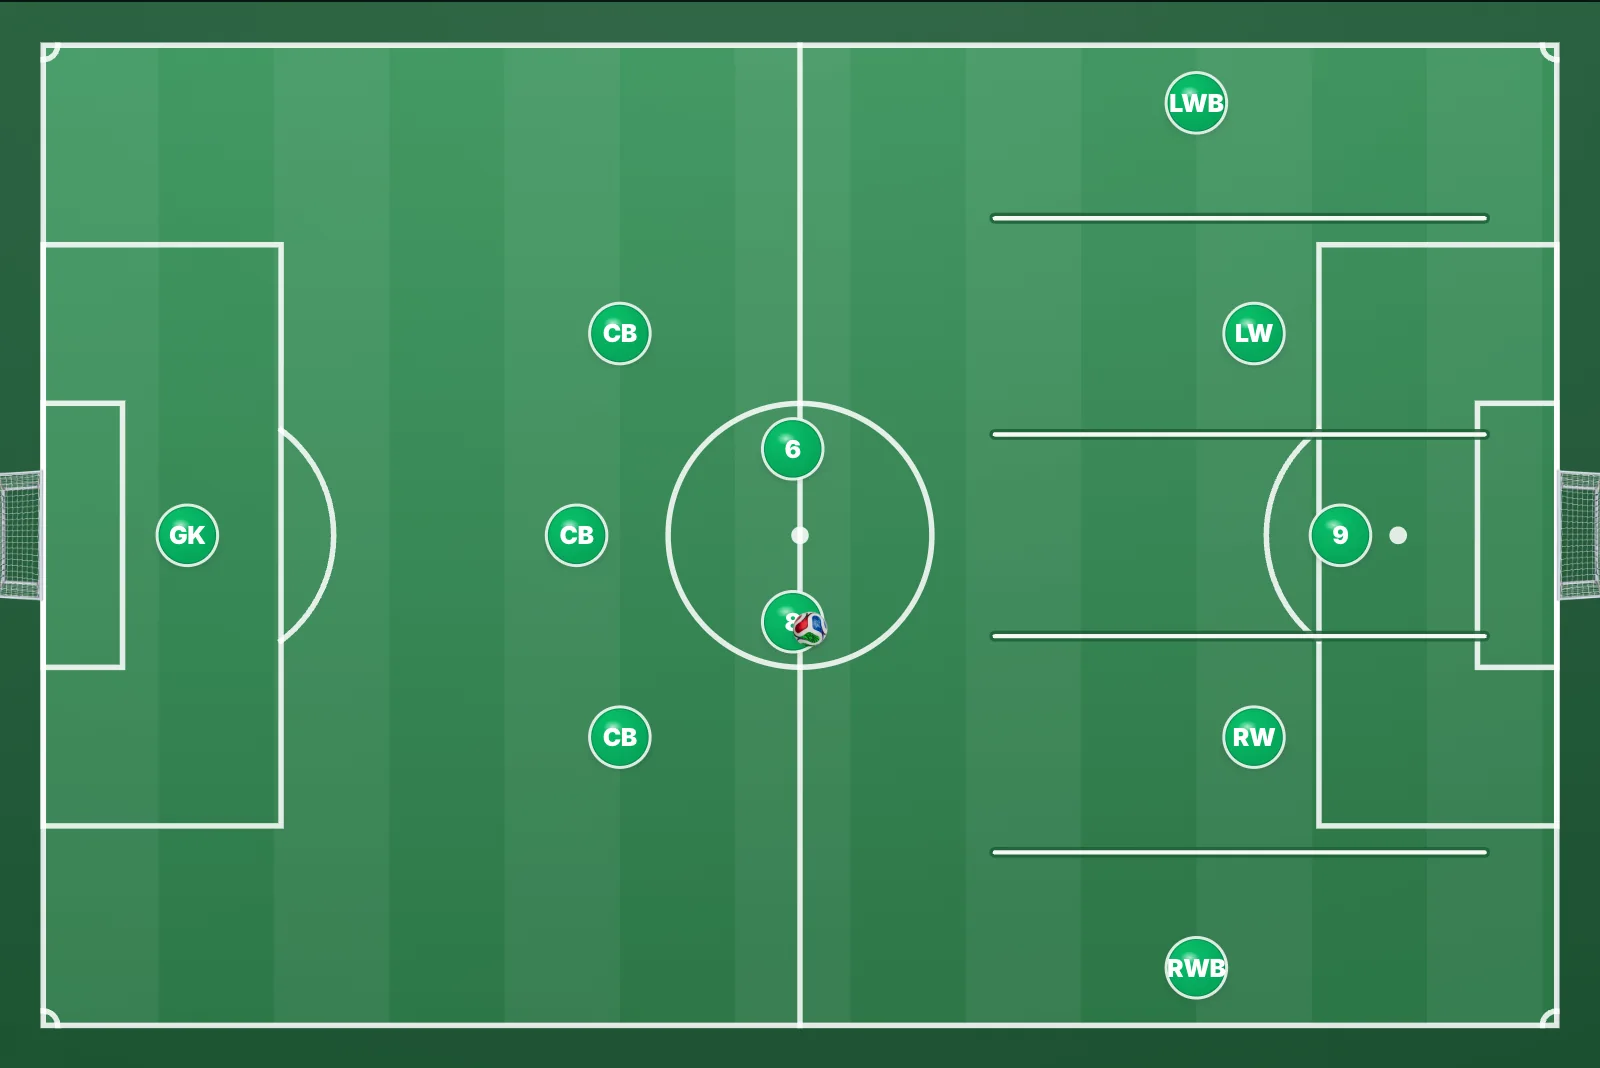
3-4-3 · 3-5-2 · a back five without the ball
Three at the back, explained
Three at the back on a moving board: five lanes, the back five, two against three in midfield and the centre-back who steps in. 3-4-3 and 3-5-2.
About 12 m
Between neighbours in the back five
Weak spot
One fewer in midfield
- 01Five across the front
- 02Without the ball: a back five
- 03Two against three in midfield
- 04The fix: an outside centre-back steps in
Side by side
Which shape, against which problem.
| 4-3-3 | 4-2-3-1 | 4-4-2 | Back three | |
|---|---|---|---|---|
| Measured | 34 m Back line to the 9, without the ball | 22 m Between the centre-backs | 11 m Between the lines | About 12 m Between neighbours in the back five |
| It gives you | Triangles everywhere before anyone moves: two passing angles for every player. | Two holders in front of the back four, so both full-backs can attack. | Width without running: four across in each line, so the flanks are covered before the ball gets there. | A spare centre-back against one or two strikers, without taking a player out of midfield. |
| Weak spot | Space beside the 6 | Their 6 against our 10 | Two against three in midfield | One fewer in midfield |
| To beat it | Put a man in the space beside their 6. A 10 or a dropping forward there makes him choose. | Free your holder from their 10. If he gets the ball facing forward, the 4-2-3-1 has no one left to step. | Play with a midfield three. Their holding midfielder is free between the two strikers. | Play with a midfield three: two against three in the middle is where a back three loses. |
| On the board | 5 phases → | 5 phases → | 4 phases → | 4 phases → |
The Formation Playbooks
Every role, every phase, in a book.
-
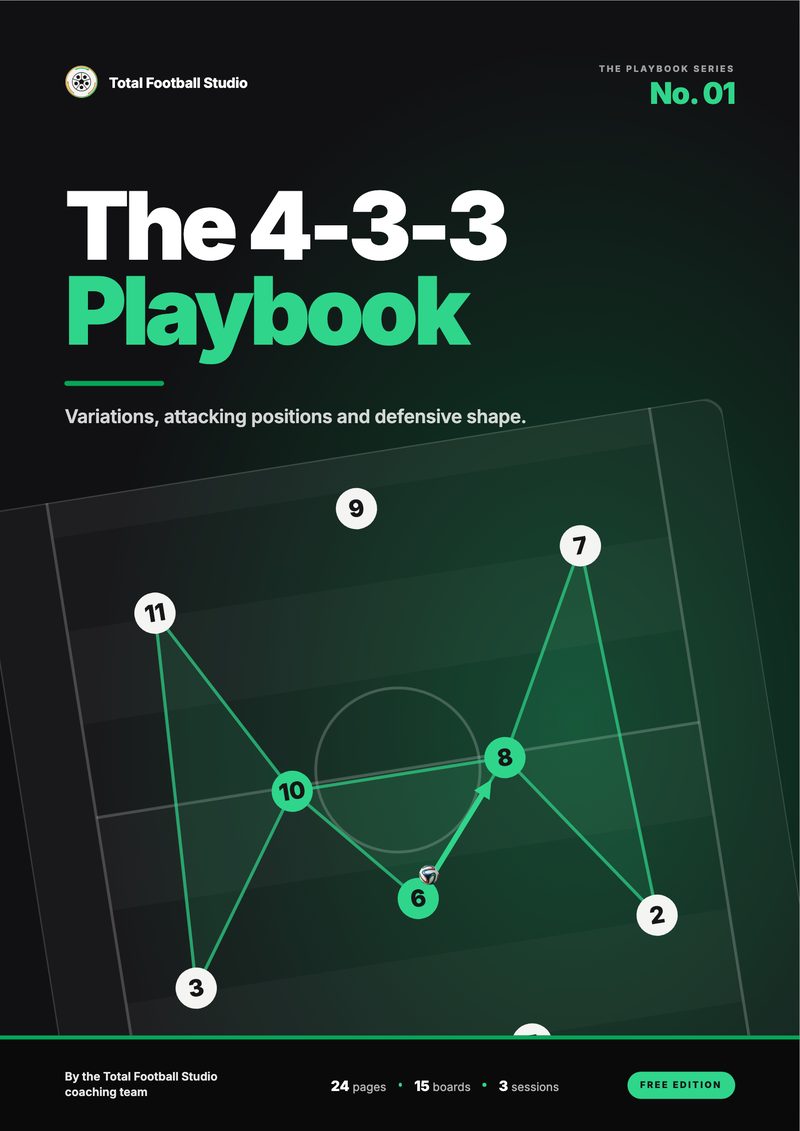
The 4-3-3 Playbook
-
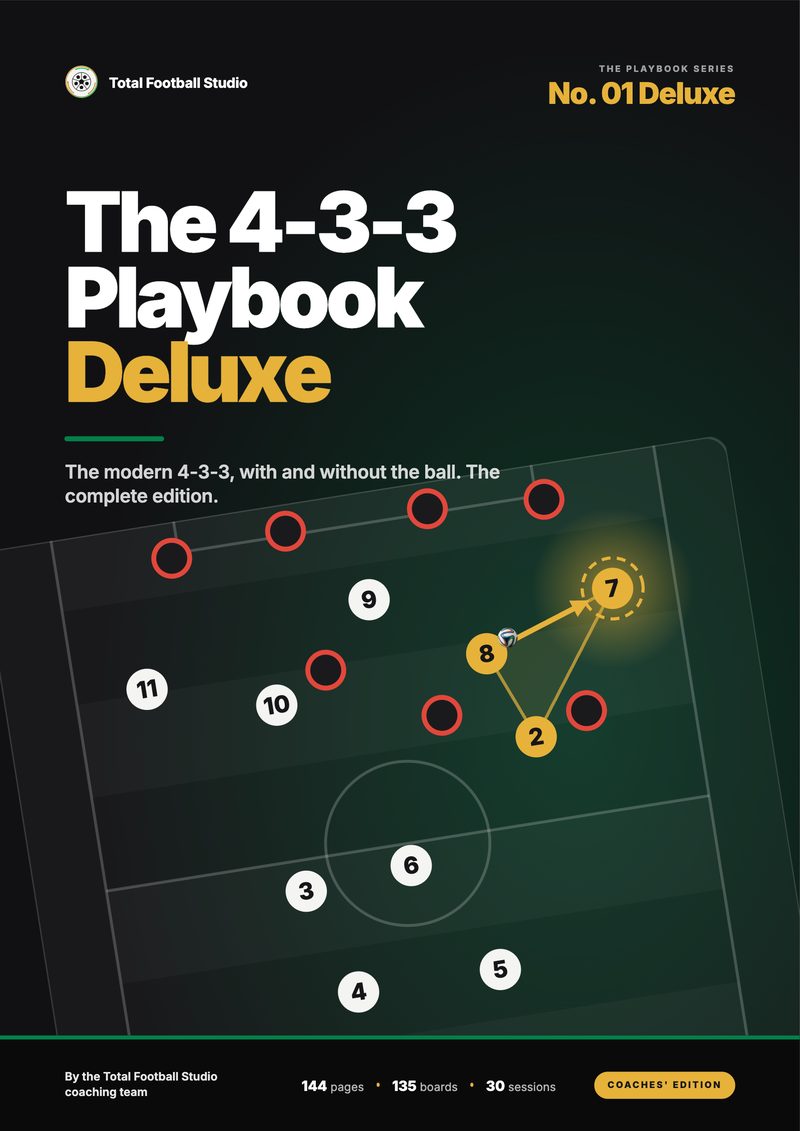
The 4-3-3 Playbook: Deluxe Edition
-
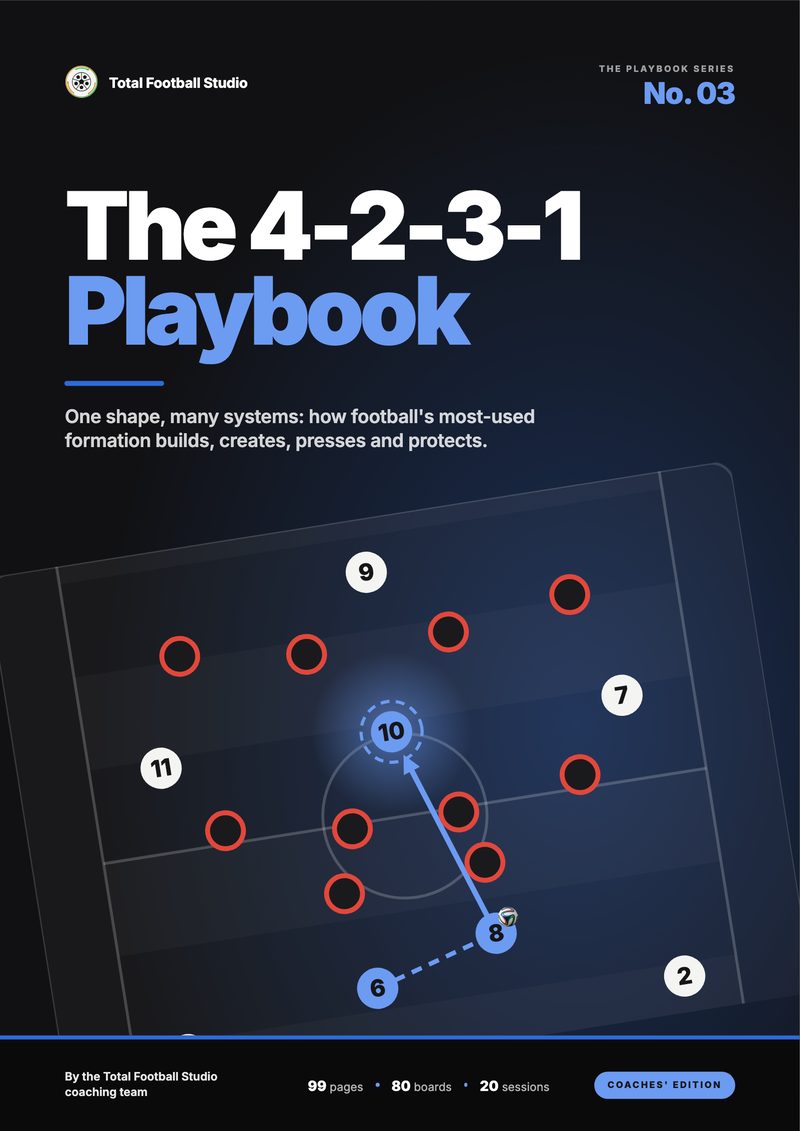
The 4-2-3-1 Playbook
-
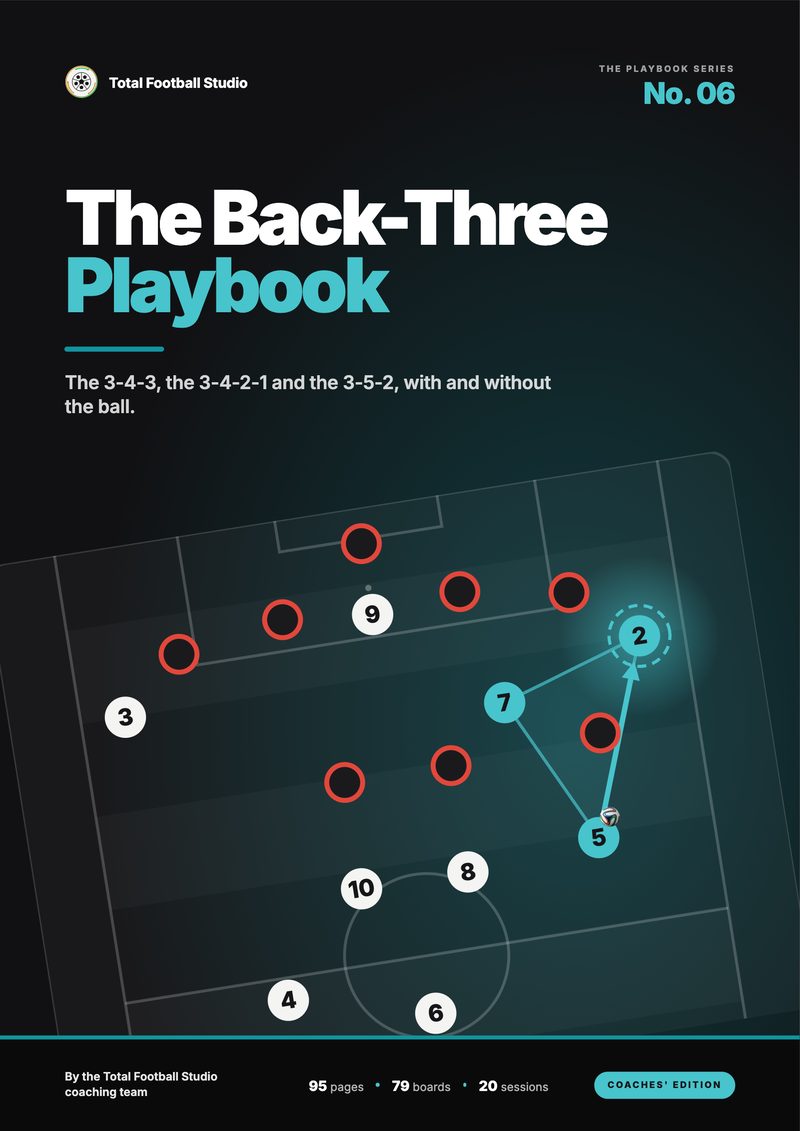
The Back-Three Playbook
-
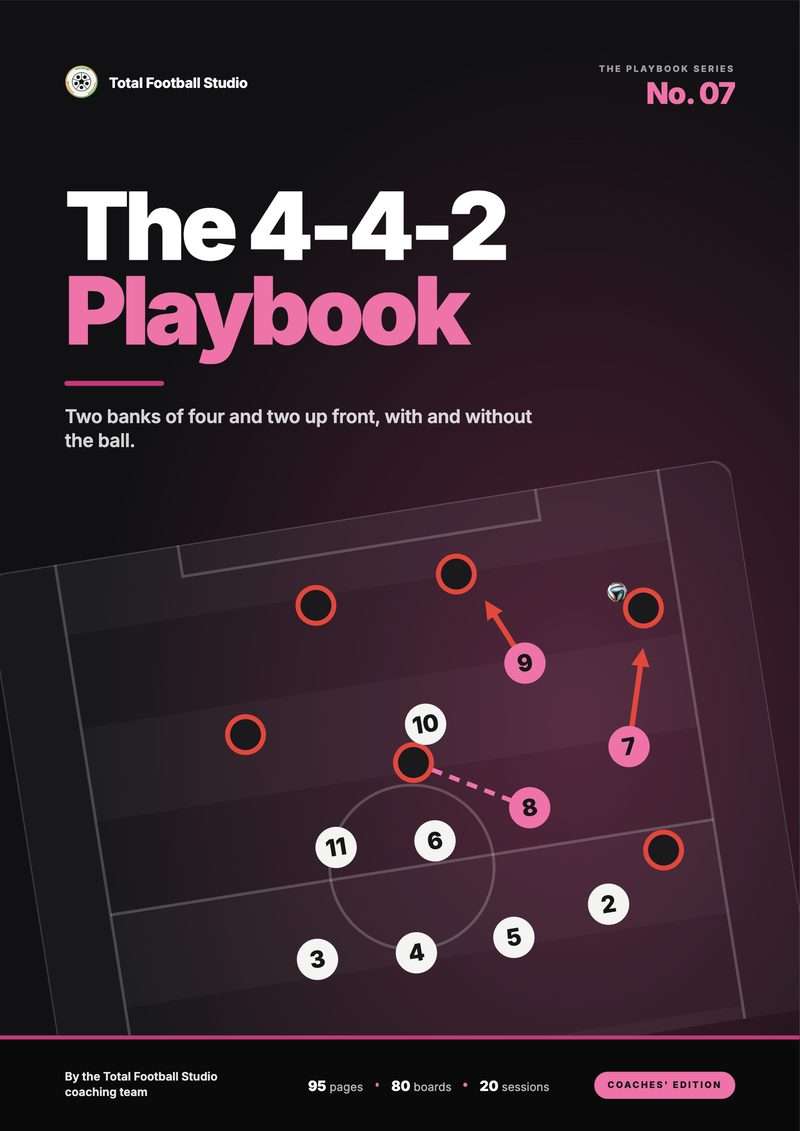
The 4-4-2 Playbook